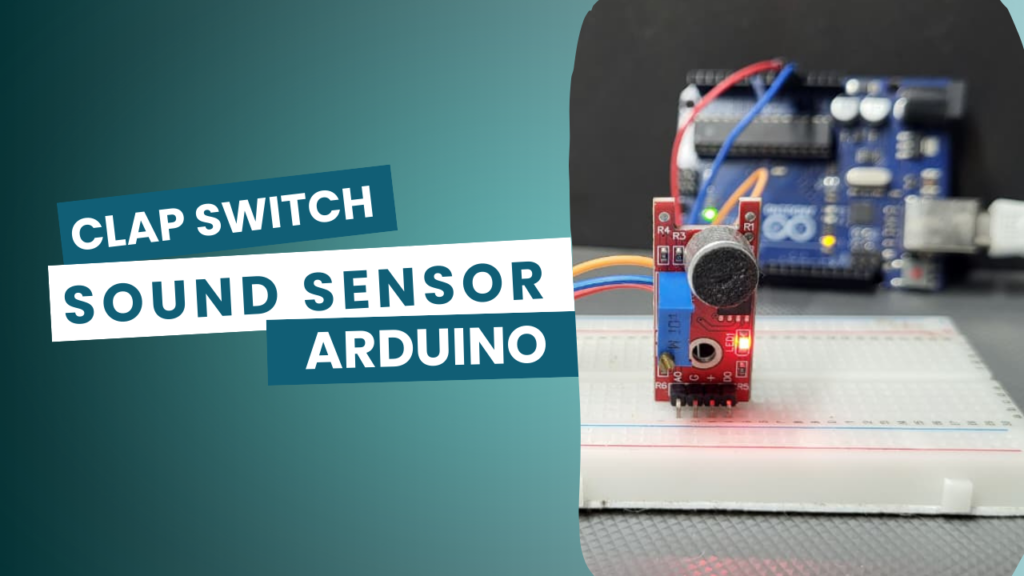
Are you looking to make your Arduino projects more interactive using sound sensors? In this article, we will learn how to interface a sound sensor with Arduino Uno to control an LED. This simple project is perfect for beginners who want to explore how Arduino responds to external sounds like claps or knocks.
What is a Sound Sensor?
A sound sensor is an electronic module that detects the intensity of sound in the environment. It usually has a built-in microphone and a potentiometer to adjust sensitivity. The sensor outputs:
- Digital Signal (HIGH/LOW): When the sound crosses a threshold.
- Analog Signal (optional in some sensors): Represents the sound level continuously.
For this project, we will use the digital output to turn an LED on and off based on the detected sound.
Components Required
To build this project, you need the following components:
- Arduino Uno board
- Sound Sensor Module (e.g., KY-038 or LM393 based)
- LED (any color)
- 220Ω Resistor
- Jumper wires
- Breadboard
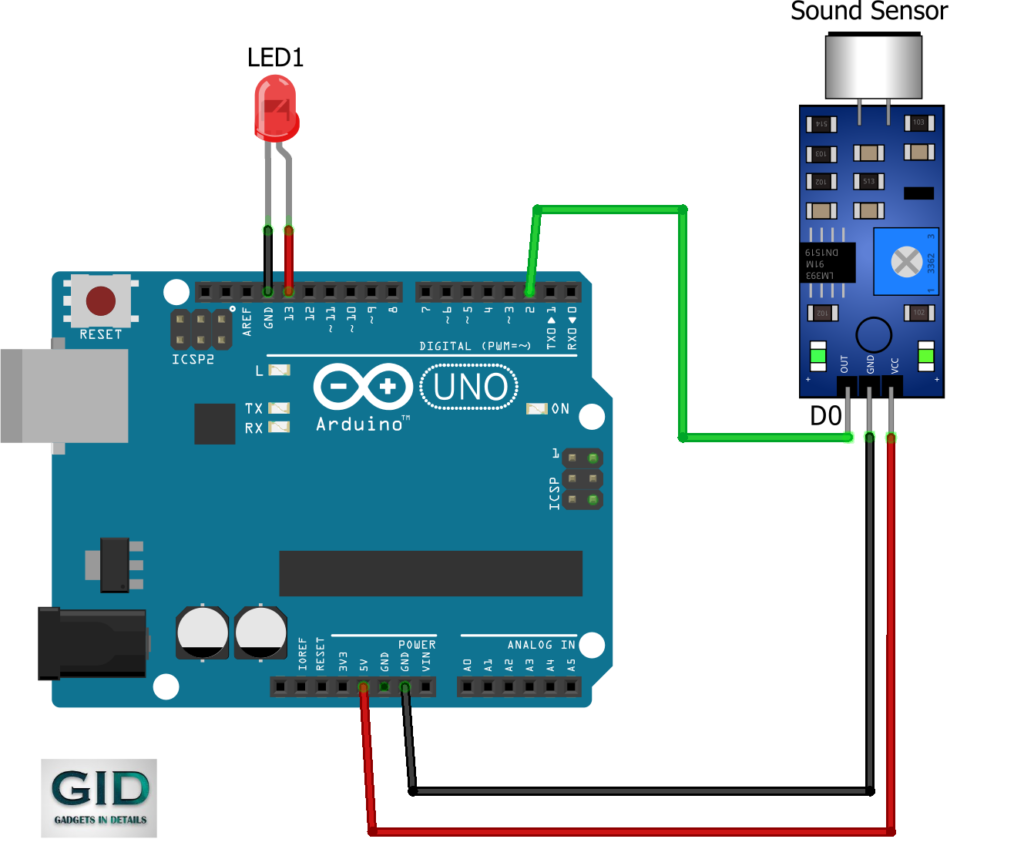
Circuit Diagram
The connections are simple:
- Sound Sensor VCC → Arduino 5V
- Sound Sensor GND → Arduino GND
- Sound Sensor OUT → Arduino digital pin 7
- LED Anode (+) → Arduino digital pin 13 (through 220Ω resistor)
- LED Cathode (–) → GND
This setup ensures that the LED will glow whenever the sound sensor detects a loud noise or clap.
Arduino Code for Sound Sensor with LED
// Sound Sensor with Arduino Uno
// LED will glow when sound is detected
int soundSensor = 7; // Sound sensor digital pin
int ledPin = 13; // LED pin
void setup() {
pinMode(soundSensor, INPUT);
pinMode(ledPin, OUTPUT);
Serial.begin(9600);
}
void loop() {
int sensorValue = digitalRead(soundSensor);
if (sensorValue == HIGH) {
digitalWrite(ledPin, HIGH); // Turn LED ON
Serial.println(“Sound Detected!”);
} else {
digitalWrite(ledPin, LOW); // Turn LED OFF
}
}
Working Explanation
- The sound sensor detects sound waves through its microphone.
- If the sound intensity crosses the preset threshold, the sensor outputs a HIGH signal.
- The Arduino reads this HIGH signal and switches the LED ON.
- When the sound stops, the signal goes LOW, and the LED turns OFF.
You can fine-tune the sensitivity of the sensor using the calibration method explained above.
Applications of Sound Sensor with Arduino
This simple circuit can be extended to create:
- Clap Switches (control lights or appliances)
- Sound-activated Alarms
- Voice-controlled projects
- Interactive robots that respond to sound
Conclusion
Interfacing a sound sensor with Arduino Uno and LED is one of the easiest projects for beginners to understand how sensors work. By learning how to calibrate the sound sensor using the potentiometer, you can fine-tune your project to work in noisy or quiet environments.
This project is a stepping stone toward more advanced applications like smart home automation, sound-activated devices, and robotics.
Start experimenting today and make your Arduino projects more interactive with sound!